Saturday, June 22, 2013

Top Bar Stand and a Swarm Catch !

Hey !

We had some excitement today.  First, I was spending some great time in my shop constructing some new top bar hive components.  I built a very sturdy platform for them and some follower boards that act as feeding ports.  Let's take a look at the stand first.

Simple Stand with 2X4s

These simple follow the 30 degree cut at the base to match the shape of the hive body.  The two 2X4s offer lateral support. These are 28 inches high.


Hive Body Secure and Level


Now you see the top bar hive body resting securely on its stand.  Rock solid and its about 35 inches tall.  Very easy height to work with.


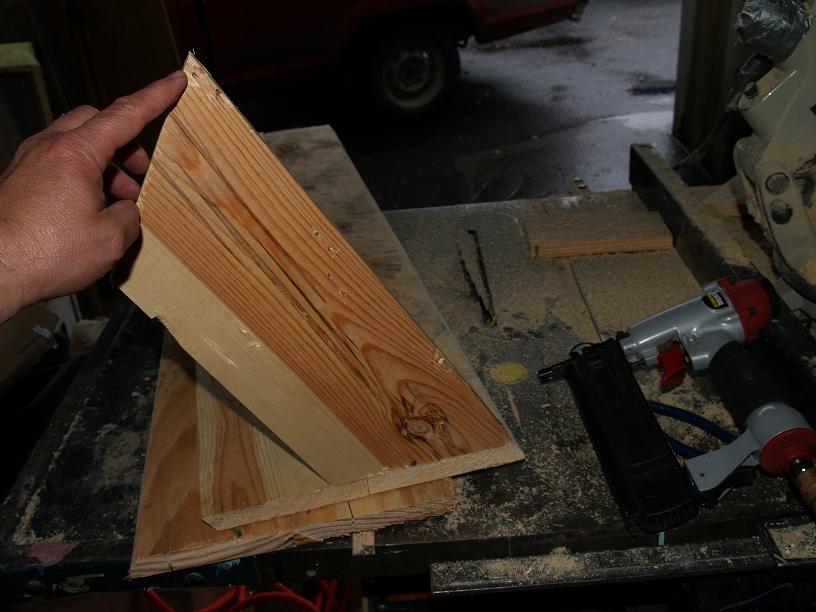
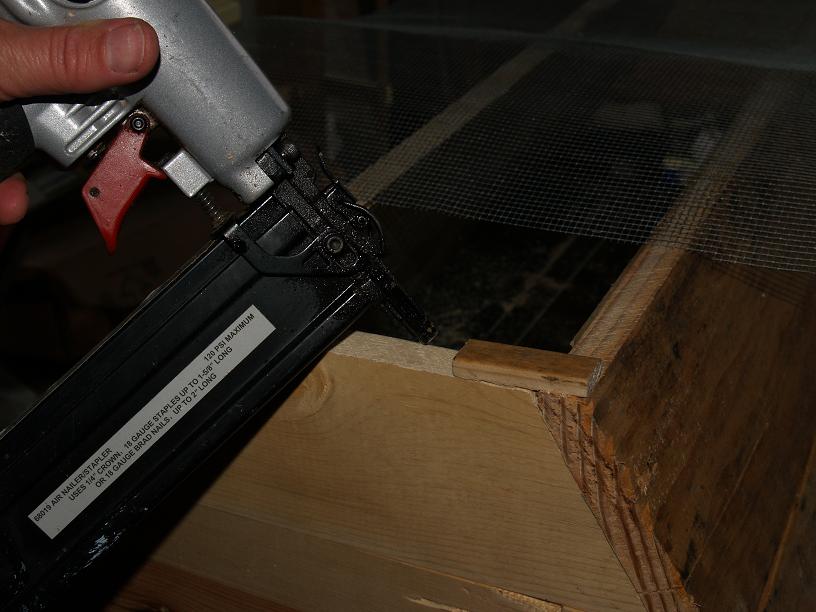
Follower board Feeder Port

Here is my idea for a follower board that acts as a feeding port at the same time!
Just add some feet to the bottom of the follower board with the correct spacing for your feeder.  I use a simple 'floor' that the feeder sits on cut with the same 30 degree s sides so that it fits snugly in the hive body.


SWARM CATCH !


Later in the afternoon - one of my hives decided that it was time to swarm.   This was a total surprise.  However, I was ready to retrieve it.
I improvised a simple swarm catch net with a pillow case and a wire hanger on the end of a long wooden stick.
Swarm Catcher Net

Then I fixed on the wire using some duct tape.  Great stuff.


Nothing by Net !


This is me catching the main ball of bees to drop them into my swarm box.


The new 'temporary' home


It took a few hours, by they all marched into their new home.  Tomorrow I will take them up to the main yard.

Wednesday, June 19, 2013

Top Bar Hive Construction

Top Bar Hive Construction

Hello Everyone !

My wife thinks I'm kindofa scrounge/wood hoarder.  Well, I guess I am in some ways.

I occasionally find some pretty good/clean 3/4 to 1 inch pine that has been thrown away.  As you can see I 'glue lammed' these together for the side walls of my Top Bar hives.
Glue Lammed 1 by 5.25 inches or so

These measure about 10.3/4 inches by 40 inches long.  There is an angle cut of 30 degrees on each end.  This makes a parallelogram of each side wall.


End Wall Construction


Since our cuts are at 30 degrees - you can set your chop or radial arm saw to cut the end walls.  This piece needs to be flush with the side wall.  I used my pin nail shooter to gently 'tack it' into place.  Repeat for both ends.  You will need to piece in the bottom piece to enclose the box.


Both Walls are now attached

Here you can see how I attached the other wall.  Once I get everything pieced together I will  use a 2 inch staple gun (with a 1/2 inch crown) to secure the box together for good!


I am a big fan of using a Varroa Screen as I believe it  helps with these pests and the screen has the added benefit of keeping the hive ventilated during the warm summer months.  A nice and dry hive is a happy hive!  In the winter, I will close this from the bottom to prevent drafts.
Making the screen standoffs for the entrance

Here I used a 3/8ths  by 2 inch standoff for the screen.  I pinned it with my nail gun.


Ready to attach screen


Attaching Screen

By using the staple gun I can secure on end and gently pull the screen from the opposite side to make it nice and tight.


Landing Platform Cleat

I attached a cleat to the bottom of this hive   to better secure the screen, and to create a landing place for the bees to enter.  Once the season progresses, I have made some additional entrances.


I will have more later !


Friday, June 7, 2013

A visit to another Outyard 6-7-13

Outyard Visit:  6-7-13


Today I headed up north to check on my two outyards.  They were doing fine.   A few colonies were really growing!

Pretty nice view eh?
Beautiful Site


On the center hive I made an observation window so you could peek inside and see whats going on without disturbing them.

Back side view
Close up looking inside


In the little field where I keep the bees, there is a black gelding that is very curious about my presence there.  I noticed that he has eaten the grass all around the hives EXCEPT for the very front. Gee, I wonder why ?

Talk you you later!

Wednesday, June 5, 2013

Hiving a honeybee swarm

Hiving a swarm:  6-4-2013

This video shows how I captured and saved a honey bee swarm.  The swarm was in the soffit of a very nice home just northwest of town.  The owners were very kind and did not wish to harm the swarm but they wanted it to find another home.  

I use a temporary 'swarm box' that is a simple 8 frame box with a floor secured to the box.   It has just one entrance with a hinged lid and closes easily after you dump the bees in.  I also put in 3 frames for the bees to climb on.  One was fully drawn, the other two were just some foundation.  Most of the box is empty and this allows for room for the 'ball of bees' to fall into the box.  

I gently remove the ball of bees from the house and dump them in.   The queen is usually in the middle of the ball.  I then close the lid and move away, coming back later (usually near nightfall) and plugging the entrance and taking them home.

The next day, I setup their new hive with additional frames and move them into the the box with the proper amount of frames.  I then put on a top feeder with 1:1 syrup and some essential oils (peppermint, lemongrass and thyme)  about 10 drops for each in a quart jar.  


Thanks !


A visit to an out yard


Hello Everyone !

I performed a quick check of one of my out yards yesterday as well.  The weather is improving quite a bit and the hives are busy.  One of these has 3 supers on it already and the top box is about to be capped.   Amazing.

Tuesday, June 4, 2013

FIRST SWARM 2013


Hello Everyone !

I have capture my first swarm of the year.  It was pretty high - under a soffit in a fairly expensive home.  I removed the first 3 panels to reveal this:

It was a medium sized swarm that had settled here for the past 3 or 4 days.  It was building comb as you can see in this next picture


You can see the white comb directly under t he cable wire.  I was about 15 feet off the ground at this point, however the ladder was very steady and I was perfectly safe.

I transferred the ball of the bees - wax and all into a transfer box with a few frames and scented with the swarm lure.  There was one frame of honey too .  I will go back in the evening to collect the transfer box once the bees have settled into the box for the night.

Sunday, June 2, 2013

Top Bar Hive Inspected


We had some heavy rain early this morning but the sun came out and so did the Bees!

I inspected the top bar hive to make sure it was progressing along and to introduce some new frames with wax 'starter strips' for them to build on.  This hive is doing very well.
Starter Strips


Saturday, June 1, 2013

New Queen Emerged - Deformed Wing


This was a strange event today!  I had a new queen emerge and try to fly out on her maiden flight only to fall to the ground.  I inspected her and found a small group of bees trying to get her to fly.  Upon closer inspection I found that there was something wrong with her wings.


Notice the right wing.  I know that this could be caused by three things.  A virus, Varroa Mite damage or genetic.   Not good.