Top Bar Hive Construction
Hello Everyone !My wife thinks I'm kindofa scrounge/wood hoarder. Well, I guess I am in some ways.
I occasionally find some pretty good/clean 3/4 to 1 inch pine that has been thrown away. As you can see I 'glue lammed' these together for the side walls of my Top Bar hives.
 |
| Glue Lammed 1 by 5.25 inches or so |
These measure about 10.3/4 inches by 40 inches long. There is an angle cut of 30 degrees on each end. This makes a parallelogram of each side wall.
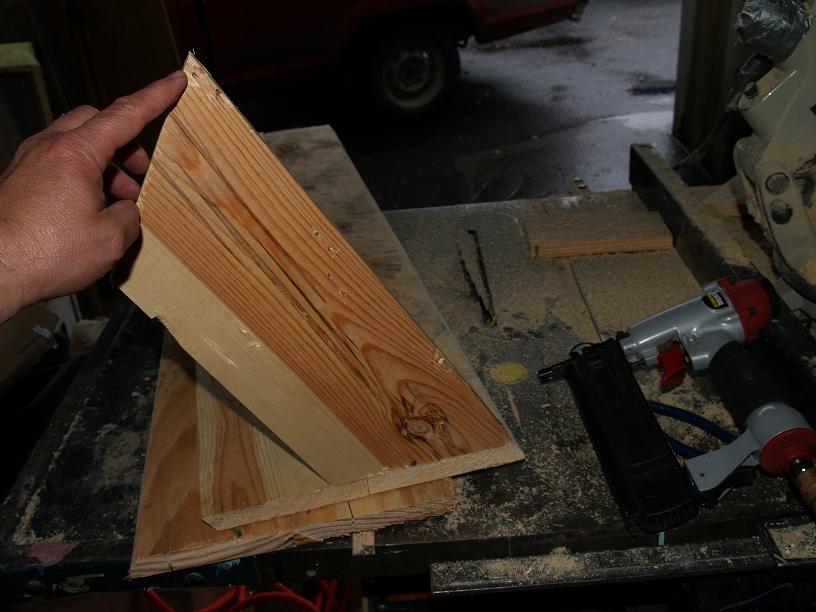 |
| End Wall Construction |
Since our cuts are at 30 degrees - you can set your chop or radial arm saw to cut the end walls. This piece needs to be flush with the side wall. I used my pin nail shooter to gently 'tack it' into place. Repeat for both ends. You will need to piece in the bottom piece to enclose the box.
 |
| Both Walls are now attached |
Here you can see how I attached the other wall. Once I get everything pieced together I will use a 2 inch staple gun (with a 1/2 inch crown) to secure the box together for good!
I am a big fan of using a Varroa Screen as I believe it helps with these pests and the screen has the added benefit of keeping the hive ventilated during the warm summer months. A nice and dry hive is a happy hive! In the winter, I will close this from the bottom to prevent drafts.
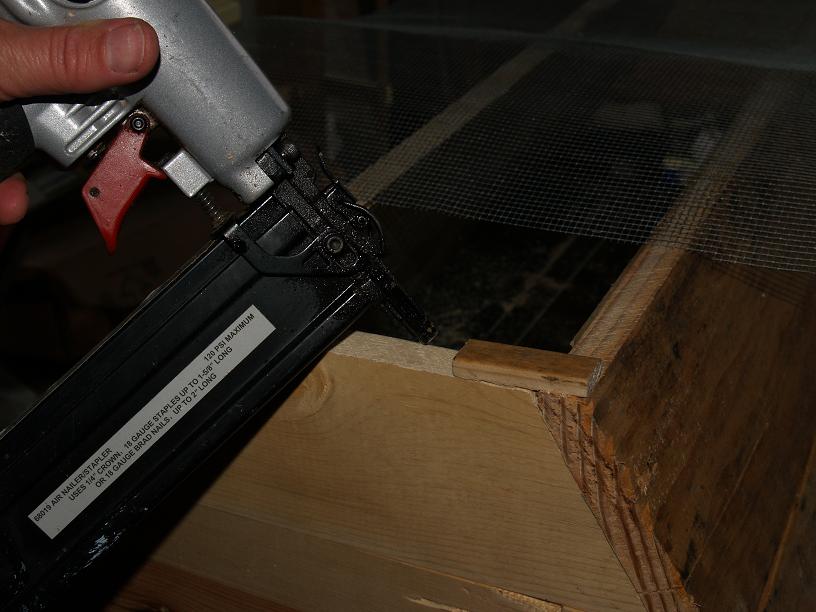 |
| Making the screen standoffs for the entrance |
Here I used a 3/8ths by 2 inch standoff for the screen. I pinned it with my nail gun.
 |
| Ready to attach screen |
 |
| Attaching Screen |
By using the staple gun I can secure on end and gently pull the screen from the opposite side to make it nice and tight.
 |
| Landing Platform Cleat |
I attached a cleat to the bottom of this hive to better secure the screen, and to create a landing place for the bees to enter. Once the season progresses, I have made some additional entrances.
I will have more later !
No comments:
Post a Comment